Warden is a website user-manager and .htpasswd generator. It controls access to any webpage running Apache in three quick steps.
|
||
|
|
Authentication dialog that Warden creates | |
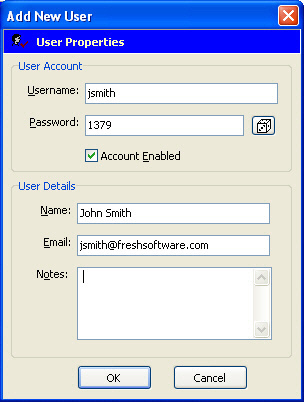
Account Editor
The first step is to define the users who get access to your protected resource (URL).
To add a new user, click the Add New User button. Enter a username and password for the account. These two fields are always required.
Click the
button to generate a random password as specified under Options
Optionally, you can enter in the Name and Email address of the user, along with any notes.
By default, the user's account will be enabled.
If you want to create the account but leave it disabled, uncheck the Account Enabled checkbox. You can activate the account later.
Next: Set Website/FTP Settings
Next, enter in details for your Website's FTP server so that Warden can log in and protect your web folder.
Name of Resource: Enter in the name of the resource to protect. It will appear in the password dialog box when users browser to the URL. URL of Resource: Optionally, enter in the URL to the resource, so you can browse to it from Warden. FTP Server: Enter in the hostname or IP address of your FTP server. Often in the form of ftp.website.com FTP Username: Enter in the FTP username used to access your website FTP Password: Enter in the FTP password that goes with the username. Full Host Path to Dir: Enter in the full server path to your home directory, where you go after logging in to your FTP server. Example:
/home/httpd/vhosts/mydomain.com/FTP Path to folder: Enter in the path of the folder you wish to protect. This may look something like
/httpdocs/myfolder/
or
/public_html/members/If you don't know what to put in for the above, you can contact your network administrator or your web host provider, or use the built in Pathfinder wizard.
Applying Protection to Website
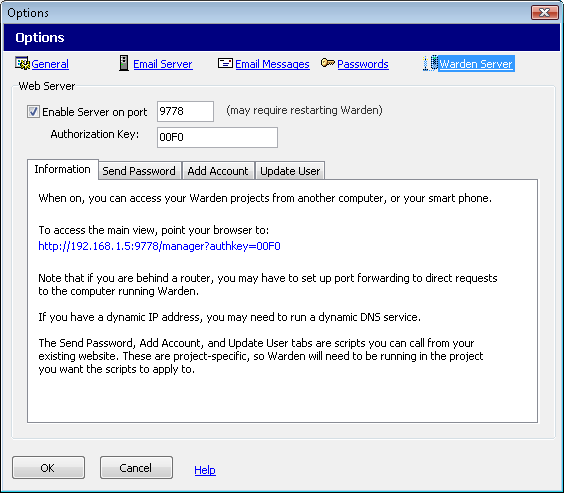
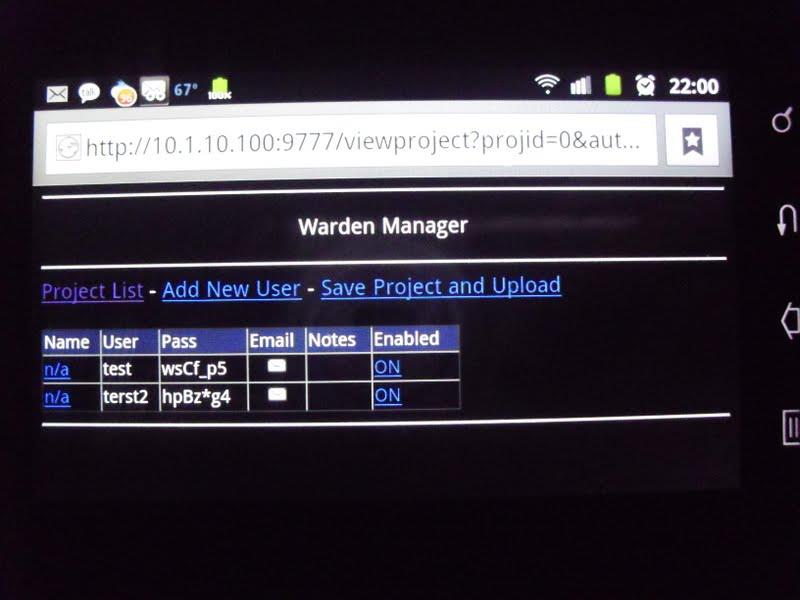
Warden Mobile Server
New in 1.44, you can access and edit your projects remotely, from any smartphone.
Warden is free to try, with no obligation to buy.
Download a 30-day trial version